
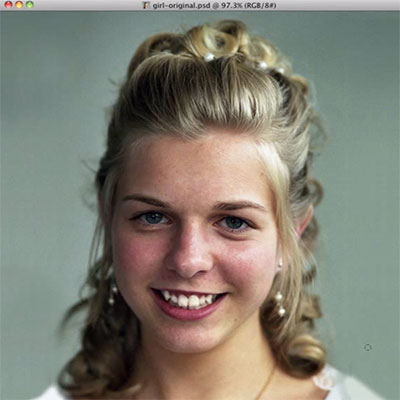
How to Retouch A Headshot in Photoshop
Here is a video tutorial on how to use Adobe Photoshop to clean up a portrait or headshot photograph. Let us know if you would like to see more examples of design step-by-step / How To’s in other programs.
Here is a video tutorial on how to use Adobe Photoshop to clean up a portrait or headshot photograph. Let us know if you would like to see more examples of design step-by-step / How To’s in other programs.
Comments (11)
Does this trick work on PC using Photoshop CS2 as well?
Hi Scott,
Yes. I used Photoshop CS5 using an Apple Macintosh running OS 10.6 (Snow Leopard) but you will be able to do the same effect on your system.
Thanks for the consice instructions, now if only my problem was rosy youthful skin instead of laugh lines, LOL. I guess it will work on both.
I think you are probably not giving yourself enough credit. I’m bet you are are real looker! No Photoshop work needed! :)
What a great demonstration, Omar! Do you recommend bringing the opacity of the layer down on the “blur” layer to adjust the effect of the blur? Also, not that it’s a problem in the sample image you used, but how can you whiten teeth without it looking creepy?
Great demo!
Hi Jason,
Yes I do. What’s great about this technique is since the “blur” effect is on a different layer, you can control how much of the effect is used at ant point during your design progress. For example for could set the opacity of the blurred layer for say 80-90% for a fuller effect, or down to say 50-60 for a lesser effect/more natural or even down to around 15-120% for a very subtle application.
I’ve retouched lots of photos using Photoshop. These were great new ideas for me to use in the future. Your demonstration made it so easy to understand. Thanks a bunch.
Thanks Miriam! We hope to be posting more tutorials and quick tips for both Photoshop and Illustrator in the coming weeks.
Also as a fellow color consultant professional in Northern NJ, I though you might appreciate this new feature of our site. Go to https://bowerwebsolutions.com/colorpicker This feature is accessible from most pages of our website https://bowerwebsolutions.com It allows us to help clients decide on their color choices. Granted as you know, how color is displayed on a computer screen can vary greatly from that on a painted wall so dont throw out your swatch books yet! LOL
I like the step by step on how to improve a photo.
Is there a fee when I use this site?
I have photos that I want to change the background? Can I do it and if so
does this site offers different backgrounds?
Great work !!! Omar
Nope, no fee at all to use our site! If you have any photos that need retouching just email them to me :)
– Omar
Comments are closed.